

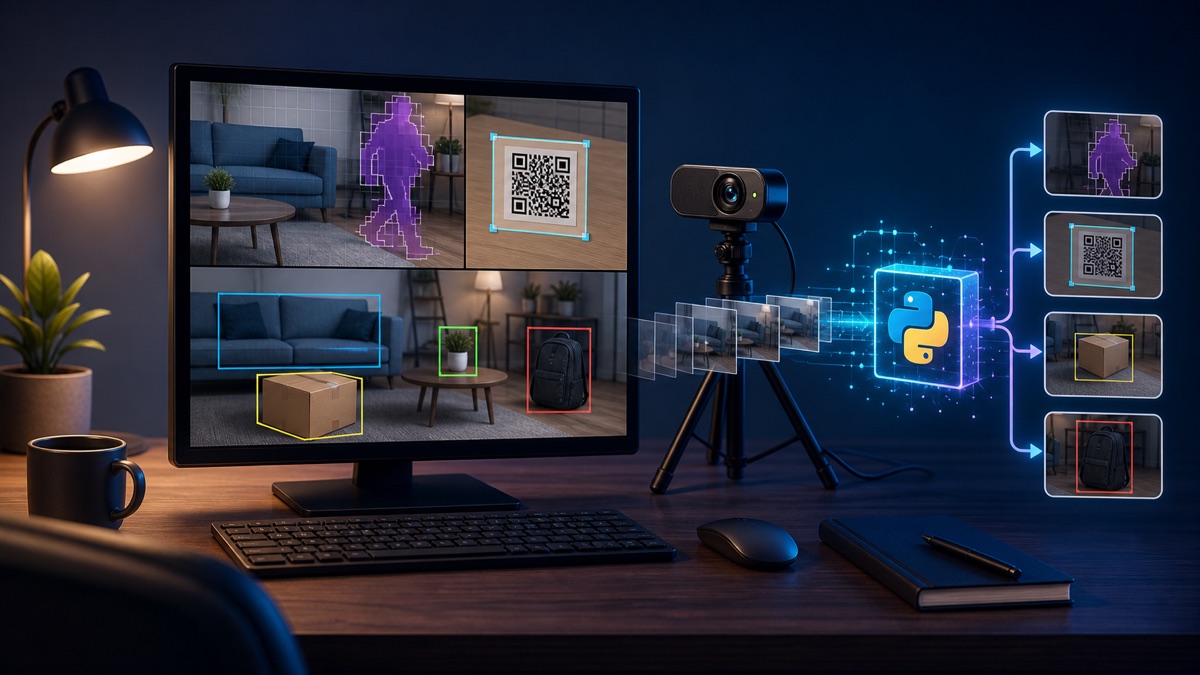
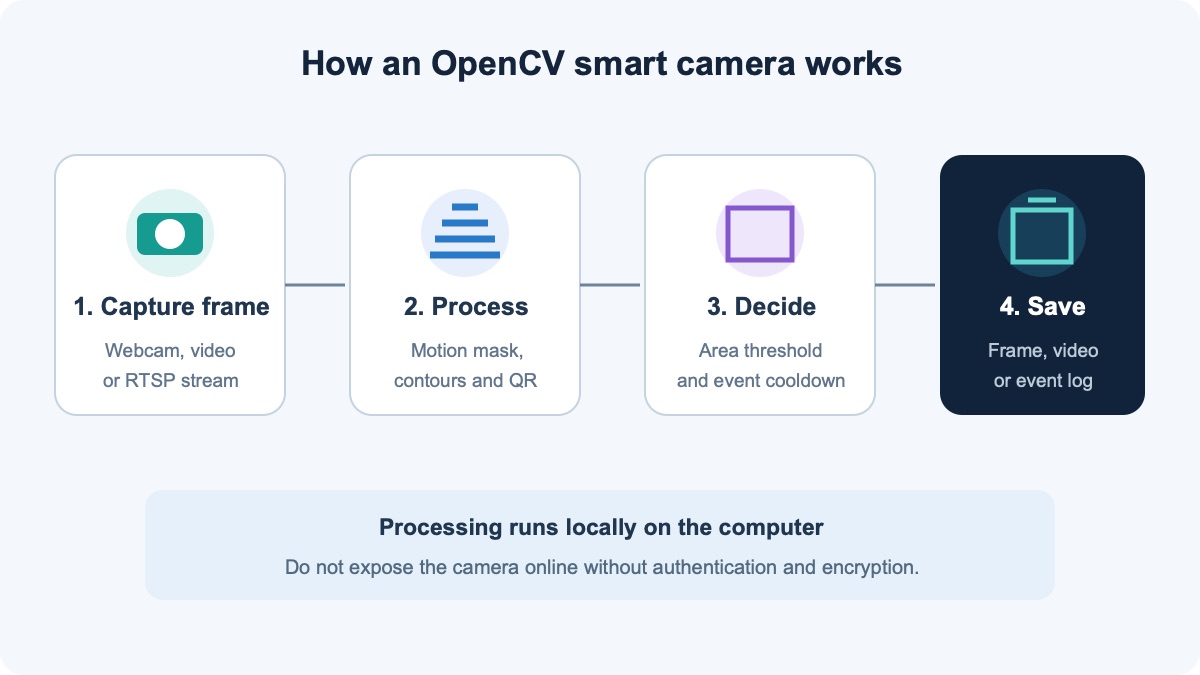
This guide builds a working smart camera in Python: OpenCV captures webcam frames, detects motion, reads QR codes, and saves event images. You will also learn how to replace the webcam with an RTSP stream and add a trained YOLO model.
Current as of June 22, 2026. Commands were checked against the opencv-python package page and official OpenCV guides for video capture, background subtraction, and QRCodeDetector. The stable PyPI release at publication time is 4.13.0.92.
What you will build
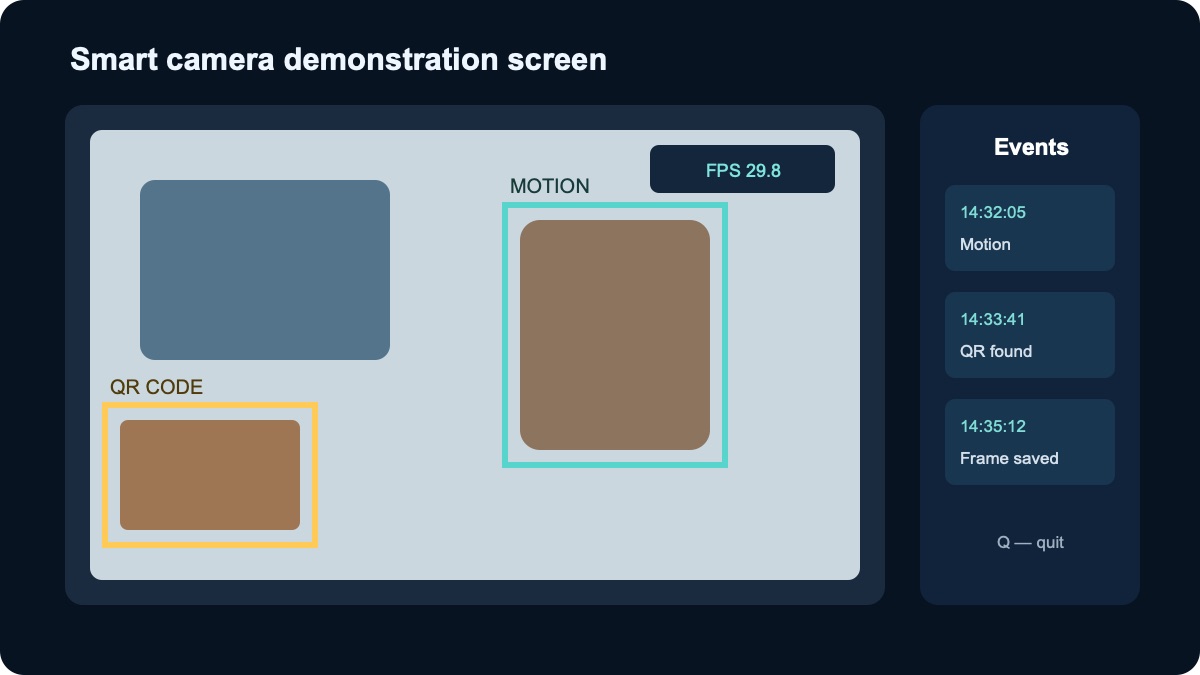
- a live camera window;
- boxes around substantial moving regions;
- local QR decoding;
- event snapshots limited to one every five seconds;
- a foundation for an IP camera or YOLO.
Step 1. Create a project and virtual environment
macOS and Linux:
mkdir opencv-smart-camera
cd opencv-smart-camera
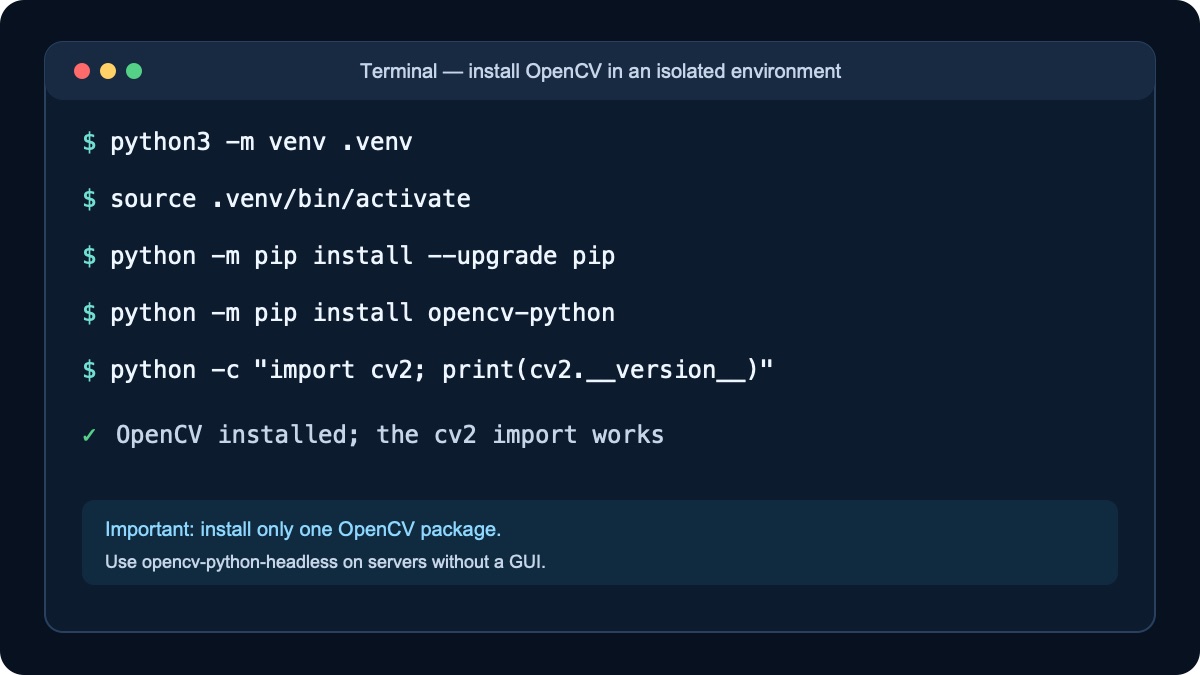
python3 -m venv .venv
source .venv/bin/activateWindows PowerShell:
mkdir opencv-smart-camera
cd opencv-smart-camera
py -m venv .venv
.venv\Scripts\Activate.ps1
Step 2. Install OpenCV
python -m pip install --upgrade pip
python -m pip install opencv-python
python -c "import cv2; print(cv2.__version__)"
Install only one OpenCV package in an environment. Use opencv-python-headless on a server without GUI windows, or opencv-contrib-python when extra modules are required.
opencv-python, while the Python import is cv2.Step 3. Test the webcam
import cv2
camera = cv2.VideoCapture(0)
if not camera.isOpened(): raise SystemExit("Cannot open camera")
while True:
    ok, frame = camera.read()
    if not ok: break
    cv2.imshow("Camera test", frame)
    if cv2.waitKey(1) & 0xFF == ord("q"): break
camera.release(); cv2.destroyAllWindows()
Save this as camera_test.py and run python camera_test.py. If it fails, close Zoom or other camera apps, check OS permissions, and try index 1.
Step 4. Add motion and QR detection
MOG2 learns the static background. Thresholding removes its shadow values, morphology filters small noise, and MIN_AREA rejects tiny contours.
from datetime import datetime
from pathlib import Path
import time
import cv2
import numpy as np

SOURCE, MIN_AREA, COOLDOWN = 0, 2500, 5.0
out = Path("events"); out.mkdir(exist_ok=True)
camera = cv2.VideoCapture(SOURCE)
if not camera.isOpened(): raise SystemExit("Cannot open camera")
model = cv2.createBackgroundSubtractorMOG2(500, 36, True)
qr = cv2.QRCodeDetector()
kernel = np.ones((3, 3), np.uint8)
last_saved = 0.0

try:
    while True:
        ok, frame = camera.read()
        if not ok: break
        mask = model.apply(frame)
        _, mask = cv2.threshold(mask, 200, 255, cv2.THRESH_BINARY)
        mask = cv2.morphologyEx(mask, cv2.MORPH_OPEN, kernel, iterations=2)
        mask = cv2.dilate(mask, kernel, iterations=2)
        motion = False
        contours, _ = cv2.findContours(mask, cv2.RETR_EXTERNAL,
                                       cv2.CHAIN_APPROX_SIMPLE)
        for contour in contours:
            if cv2.contourArea(contour) < MIN_AREA: continue
            x, y, w, h = cv2.boundingRect(contour)
            cv2.rectangle(frame, (x,y), (x+w,y+h), (0,220,180), 2)
            motion = True
        text, points, _ = qr.detectAndDecode(frame)
        if text and points is not None:
            pts = points.astype(int).reshape(-1, 2)
            cv2.polylines(frame, [pts], True, (0,210,255), 3)
            cv2.putText(frame, f"QR: {text[:40]}", (20,70),
                        cv2.FONT_HERSHEY_SIMPLEX, .7, (0,210,255), 2)
        now = time.monotonic()
        if motion and now-last_saved >= COOLDOWN:
            name = datetime.now().strftime("event_%Y%m%d_%H%M%S.jpg")
            cv2.imwrite(str(out/name), frame); last_saved = now
        cv2.imshow("OpenCV smart camera", frame)
        if cv2.waitKey(1) & 0xFF == ord("q"): break
finally:
    camera.release(); cv2.destroyAllWindows()
Step 5. Run and tune it
python smart_camera.py- increase
MIN_AREAto ignore small shadows; - increase
COOLDOWNto save fewer images; - press
Qto release the camera cleanly.
Step 6. Use a video or RTSP camera
SOURCE = "video.mp4"
# or
SOURCE = "rtsp://USER:PASSWORD@CAMERA_IP:554/STREAM_PATH"
Never commit a real password or show it in screenshots. Keep the camera on a restricted network and do not expose its RTSP port directly to the internet.
Step 7. Add YOLO26
python -m pip install ultralyticsfrom ultralytics import YOLO
model = YOLO("best.pt")
results = model.predict(frame, conf=0.35, verbose=False)
frame = results[0].plot()Run the neural network every second or third frame to reduce load. Training is covered in the YOLO26 guide.
Common problems
- Camera will not open: check permissions, index, and apps holding the device.
- No window on a server: headless packages do not support
imshow. - Too many events: raise
MIN_AREAandCOOLDOWN. - QR will not decode: improve lighting, move closer, and reduce glare.
Conclusion
OpenCV can produce a useful local prototype without a cloud service: capture video, isolate motion, decode a QR code, and save an event. Stabilize the webcam version first, then add RTSP and YOLO one at a time.
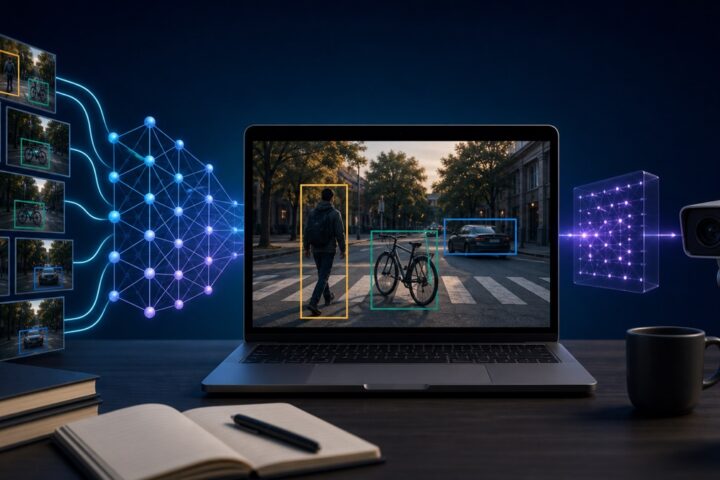
The featured image was created with a generative model. Diagrams contain no real camera addresses, credentials, or personal information.


Comments on this article